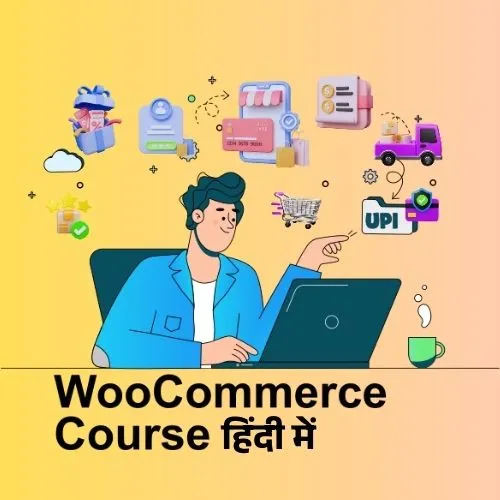
So, you’ve got your WordPress website ready, and you’re excited to start selling online. But how do you transform your standard site into a fully-functional e-commerce store? The magic lies in a single, powerful plugin: WooCommerce. If the thought of installing and setting up a new plugin feels daunting, don’t worry! You’re in the right place.
This guide is designed for absolute beginners. By the end of this post, you will know exactly how to find, install, and activate the WooCommerce plugin, taking your first concrete step toward launching your online business. Let’s get started!
What is WooCommerce and Why Do You Need It?
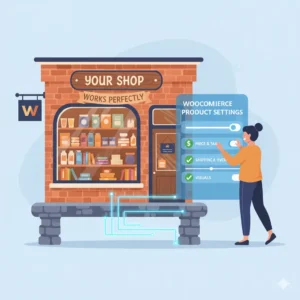
Think of your WordPress site as a physical building. It has a structure, pages, and content, but it’s not a shop yet. WooCommerce is the tool that comes in and installs the cash register, sets up the product shelves, and puts up a “We’re Open for Business” sign. In technical terms, it’s a free, open-source plugin that adds e-commerce functionality to your WordPress site, allowing you to sell products or services directly to your customers.
It powers millions of online stores worldwide because it’s flexible, powerful, and seamlessly integrates with the WordPress you already know.
Step 1: Accessing Your WordPress Dashboard
Before you can install anything, you need to be in the driver’s seat: your WordPress Admin Dashboard. This is the backend control panel for your entire website.
- Navigate to your website’s login URL. It’s typically
yoursite.com/wp-adminoryoursite.com/wp-login.php. - Enter your username and password.
- Once logged in, you will land on your Dashboard. It will look something like this: “.
This is your command center. From here, you can create pages, write posts, and most importantly for us, manage your plugins.
Step 2: Finding the Official WooCommerce Plugin
It’s crucial to install the correct plugin from the official WordPress repository. This ensures you’re getting a safe, secure, and regularly updated version.
- From your dashboard, navigate to Plugins > Add New Plugin.
- You will see a search bar at the top right of the screen. Type “WooCommerce” into this bar and hit Enter.
- The official “WooCommerce” plugin, developed by “Automattic,” will be the first result. It will look like this:
Pro Tip: Always look for the “Automattic” author name and the official WooCommerce logo to avoid installing a counterfeit or malicious plugin.
Step 3: Installing and Activating WooCommerce
Now for the main event! The process is surprisingly simple and happens with just a couple of clicks.
- On the WooCommerce plugin card, click the “Install Now” button.
- WordPress will now download and install the plugin files automatically. You’ll see the button text change to “Installing…” and then to “Activate.”
- Once the installation is complete, click the “Activate” button.
And that’s it! You have successfully installed and activated WooCommerce on your WordPress site. You should see a success message, and you’ll notice new “WooCommerce” menu items appearing in your dashboard sidebar.
What to Expect After Activation
After you click “Activate,” WooCommerce will typically launch its famous Setup Wizard. This is an interactive guide that helps you configure the essential settings for your store, such as:
- Your store’s location and currency.
- The types of products you plan to sell.
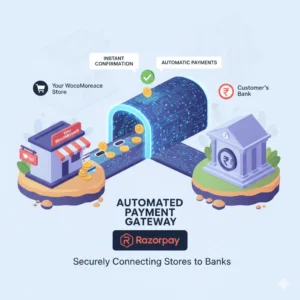
- Payment methods (like PayPal and Stripe).
- Shipping options and costs.
We highly recommend running through this wizard, as it sets a solid foundation for your store. You can always change these settings later by going to WooCommerce > Settings.
Want to Put This Lesson into Practice?
Reading about a setting is one thing, but the best way to learn WooCommerce is by doing. If you’re nervous about breaking your live store, or don’t have a safe place to experiment, a ‘sandbox’ is the perfect solution.
We offer a Practice Account that gives you a pre-built WooCommerce store to test, tweak, and practice on, completely risk-free. It’s the ideal environment to follow along with tutorials like this one without any stress.
[Sign Up for Your Risk-Free Practice Account Here]
Ready to Go from Practice to Pro?
Once you’re comfortable with the basics, you might wonder, “What’s next?” A practice account is great for testing, but a structured course gives you the complete roadmap from beginner to confident store owner.
Our comprehensive course guides you through every aspect of WooCommerce, from setup and product creation to advanced shipping, payments, and marketing, all with expert guidance.
If you’re serious about mastering WooCommerce, check out our WooCommerce 101 – Recorded Video Course
Conclusion
Congratulations! You’ve just crossed a major milestone. Installing the WooCommerce plugin is the fundamental first step in your e-commerce journey. You’ve learned how to access your WordPress dashboard, find the official plugin, and install it with just a few clicks. Remember, every expert was once a beginner who took that first step. Now that your store’s engine is installed, you’re ready to start configuring it and adding your products.
Common Questions About Installing WooCommerce
Q: Is WooCommerce really free to use?
A: Yes! The core WooCommerce plugin is completely free and open-source. This gives you all the essential features to start selling. However, there is a vast ecosystem of paid “extensions” that add specific functionality like subscriptions, bookings, or advanced shipping, which you can choose to purchase as your business grows.
Q: Can I install WooCommerce on any WordPress site?
A: You can install it on any self-hosted WordPress.org site. It is not available for sites hosted on the limited, free version of WordPress.com (with some exceptions for their Business and E-commerce plans). You need your own hosting and domain to use WooCommerce.
Q: What if I make a mistake during setup?
A: Don’t panic! Almost every setting in WooCommerce can be changed later. The beauty of a platform like WordPress is its flexibility. That’s also why we recommend using a practice account—it allows you to make mistakes and learn from them without any consequences to a live business.