So, you’ve successfully installed WooCommerce on your WordPress site—congratulations! That’s a huge first step. But now you’re staring at your dashboard, and you might be wondering, “What do all these new menus mean? Where do I even begin to turn this into a real, functioning store?”
If that sounds familiar, don’t worry. Every successful WooCommerce store owner starts right where you are now. The key is knowing how to properly configure WooCommerce settings to lay a strong foundation for your business. This guide will walk you through the initial setup process, explaining what each part does and how to navigate the dashboard with confidence. By the end, you’ll understand the core setup areas and be ready to start adding your products.
What Appears After You Install WooCommerce?
Before we dive into settings, let’s understand what WooCommerce has already set up for you. Once activated, the plugin makes significant changes to your WordPress admin area and your live site.
New Admin Menus
In your dashboard, you’ll notice new menu items like:
- Products: Where you’ll add and manage everything you’re selling.
- Payments: The hub for setting up how you’ll accept money (e.g., credit cards, PayPal).
- Analytics: Your store’s report card, showing sales, customers, and other key metrics.
- Marketing: For creating coupons and promotions.
These menus are your new command center. Over time, you’ll become very familiar with them. Your live website also gets an instant upgrade. You’ll now see:
- A “Shop” page.
- A “Cart” page where customers can review their selections.
- A “Checkout” page for completing purchases.
- A “My Account” page where customers can track orders and save their addresses.
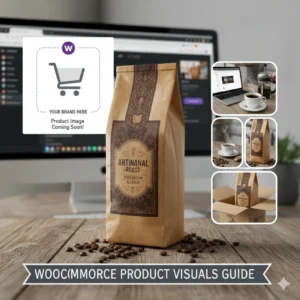
Just like on major stores like Amazon, these pages provide a seamless shopping experience right out of the box. You might also see a “Store Coming Soon” notice, which is WooCommerce’s way of preventing customers from placing orders before you’re fully ready.
Your First Step: The WooCommerce Setup Wizard
The easiest way to start configuring WooCommerce settings is by using the built-in Setup Wizard. It’s a friendly, step-by-step guide that appears right after installation.
How to Access the Wizard
If you’ve closed the wizard, don’t panic! You can always find it by going to WooCommerce > Home in your admin menu. You’ll see a card prompting you to customize your store. Click “Start customizing” to launch the wizard.
A Walkthrough of the Wizard’s Key Steps
The wizard breaks down the complex setup into bite-sized pieces. Let’s look at what it covers:
- Customize Your Store: This step might suggest themes. For now, it’s safe to skip this. Your store’s design (theming) is a separate project you can tackle later.
- Add Your Products: Here, WooCommerce asks what type of products you plan to sell. This is a great way to understand the platform’s power:
- Physical Products: Tangible items that require shipping (e.g., books, mugs, clothing).
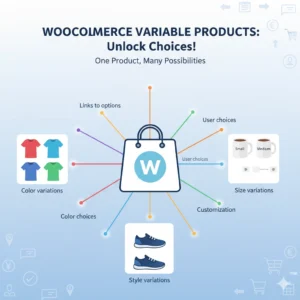
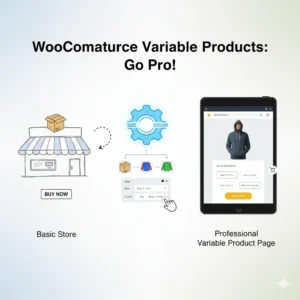
- Variable Products: A single product that comes in multiple variations, like a T-shirt available in different colors and sizes.
- Digital Products: Items like e-books, music, or software that are downloaded.
- Grouped Products: Collections of individual products sold together as a bundle.
[Screenshot placeholder: The "Add Your Products" screen in the WooCommerce Setup Wizard, showing the different product type options.]Pro Tip: While the wizard is helpful, we recommend skipping this for now. It’s better to learn how to add products manually with full control, which we’ll cover in future lessons. - Get Paid: This is a crucial step. Here, you can configure payment gateways like PayPal or Stripe to accept credit card payments. If you don’t see options here immediately, it’s okay! Payment gateways often require additional configuration, which we can do directly in the main settings.
- Collect Sales Tax: If you need to charge tax (like GST or VAT), this section helps you set it up. We’ll explore the more detailed tax configuration options later.
- Launch Your Store: The final step! Once you’re happy with your basic setup, you can officially take your store out of “Coming Soon” mode and open it to the world.
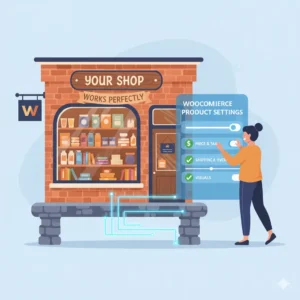
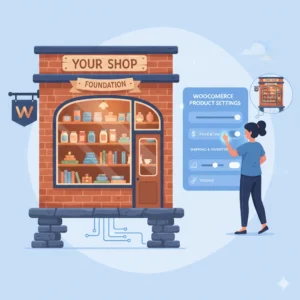
The Power of the Main WooCommerce Settings
While the wizard is a fantastic starting point, the real control lies in the main WooCommerce Settings panel. This is where you’ll fine-tune every aspect of your store.
You can access this at any time by navigating to WooCommerce > Settings. This panel is divided into several tabs:
- General: Set your currency, base location, and product measurement units.
- Products: Configure the core settings for your inventory, product pages, and more.
- Tax: Dive deep into complex tax rules and rates.
- Payments: Enable and manage all your payment methods in one place.
- Shipping: Set up shipping zones, methods, and rates.
- Accounts & Privacy: Manage customer accounts and data privacy settings.
- Emails: Customize the automated emails sent to you and your customers.
For now, simply knowing where this control room is located is a major win. We will explore each of these tabs in detail in upcoming guides.
Exploring Your New Store Frontend
After the initial setup, it’s a great idea to visit your live site and see what’s changed. Click through the new “Shop,” “Cart,” and “My Account” pages.
The “My Account” page is especially important. This is what your customers will see. They can:
- Track their orders.
- Download any digital products they’ve purchased.
- Save their billing and shipping addresses for faster checkout.
- Update their account details.
Seeing this from a customer’s perspective helps you understand the experience you’re building and what needs to be configured next.
Want to Put This Lesson into Practice?
Reading about a setting is one thing, but the best way to learn WooCommerce is by doing. If you’re nervous about breaking your live store, or don’t have a safe place to experiment, a ‘sandbox’ is the perfect solution.
We offer a WooScribe Practice Account that gives you a pre-built WooCommerce store to test, tweak, and practice on, completely risk-free. It’s the ideal environment to follow along with tutorials like this one without any stress.
[Sign Up for Your Risk-Free Practice Account Here]
Ready to Go from Practice to Pro?
Once you’re comfortable with the basics, you might wonder, “What’s next?” A practice account is great for testing, but a structured course gives you the complete roadmap from beginner to confident store owner.
Our comprehensive course guides you through every aspect of WooCommerce, from setup and product creation to advanced shipping, payments, and marketing, all with expert guidance.
If you’re serious about mastering WooCommerce, check out our WooCommerce 101 – Recorded Video Course
[Join the Master WooCommerce Course Here]
Conclusion
Configuring your WooCommerce settings is the essential first step after installation. You’ve learned how to navigate the setup wizard, understood the new admin menus and frontend pages, and located the main settings panel for future fine-tuning. Remember, every expert was once a beginner, and taking the time to set up your store correctly now will save you countless headaches later. Keep exploring, and don’t be afraid to click around!
Common Questions About WooCommerce Setup
Can I change these settings after I’ve launched my store?
Absolutely! You can revisit and modify almost every setting in WooCommerce > Settings at any time. Your store is designed to grow and evolve with your business.
What if I skipped the setup wizard? Can I go back?
Yes, you can. The wizard is accessible from WooCommerce > Home in your dashboard. However, every task in the wizard can also be completed manually in the main Settings panel, often with more control and precision.
Why don’t I see any payment options in the ‘Get Paid’ section?
This is common. Payment gateways often need to be set up with API keys from external services (like PayPal or Stripe). The wizard sometimes can’t detect them initially. You can fully configure all payment methods by going to WooCommerce > Settings > Payments.